Backcountry Photography: Top 5 Pieces of Gear for Less than $100
Living in Colorado allows me to be in the mountains quickly and head off on a photo trip at a moment’s notice. Navigating the waters of backcountry photography is tricky - with all the necessary equipment, it’s weight and how to carry all of it in addition to camping supplies; not to mention doing it on a budget. Recently taking a liking to astrophotography, I understand this firsthand. After you buy the camera, now what? These are the top 5 pieces of gear that I have and got for under $100. This is your starter guide to backcountry photography on a budget.
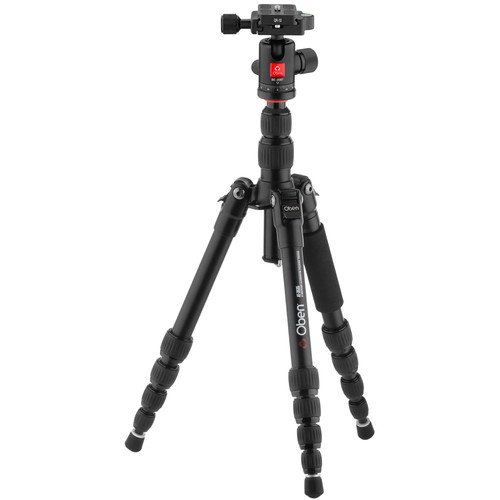
This is the first piece of gear that I check to see that I have before leaving on any photo trip. When going backcountry, weight is paramount. That doesn’t mean I want to hike in 8+ miles to get a shaky photo of the milky way. You know the feeling; it looks great on the 2'“ LCD but when you go to edit the photos they are too blurry and the whole trip feels like it was for nothing. This tripod is light but strong, flexible but tough and sturdy enough to get overnight star trail photos. Plus, it even has a hook on the bottom of the center column so you can add additional weight if there are windy conditions. If you don’t have a tripod and are just getting in to photography, this one is among the cheapest you will find for how much it has to offer. It comes with a head, can support a 10lb camera rig and extends up to 52”! This one is cutting it close with an MSRP of $99.95 and consistently proves itself to be the most versatile piece of gear I have in my bag.
I bought this tent in college for a spring break trip. My friend and I bought the same one at different times because it was cheap, available on Amazon and looked to be big enough for both of us being 6’0+. I bought it in 2018 thinking that I would buy a $400+ three-season tent when I got a big boy job and that this one should do for now. Since 2018, him and I have intentionally tried to run this tent in to the ground to justify buying a new one. We have failed. This tent has spent a full day in 50mph+ daytime winds in the plains of Arizona, been blown around in high altitude boulder fields with sharp rocks, had a cactus blown straight in to it and even spent a night in a full blown tornado in Tennessee. Not a bent pole, not a scratch, not a tear and it has never leaked. This tent has been backpacking with me (not recommended for weight weenies but it will do the trick for most backpacking trips), car camping and backyard camping. It’s $80 and the best piece of gear you will own.
This was bought with bikepacking in mind. No, not backpacking BIKE-packing. It’s like backpacking but instead of walking, you have a heavy bike to haul around, less space to carry your gear. That being said, this pad inflates in about 5 breaths, weighs 12.3oz in the bag and packs down to 6x3.5” with some careful folding. I’ve used this in both winter and summer, and with an extra layer or sleeping bag liner to make up for the holes, you can use this all year round. Side sleepers, you are in luck. I am one that can really only sleep on my side and I was worried with how thin this was. It gets firm enough where it is comfortable to sleep on your side and not wake up with sore shoulders that your pack is going to sit on for the duration of the next day. Now, here is the best part; this is designed to fit INSIDE your sleeping bag and not move. The pillow nestles perfectly in to the mummy hood and as a light sleeper, I can certify that this never shifts around. I shopped around for a new sleeping pad for a while. In my head it was established that I was going to need to spend $175 for a long, warm, packable pad… or so I thought. $90 for the best pad I own and the only one that has not been popped by grass or pine needles.
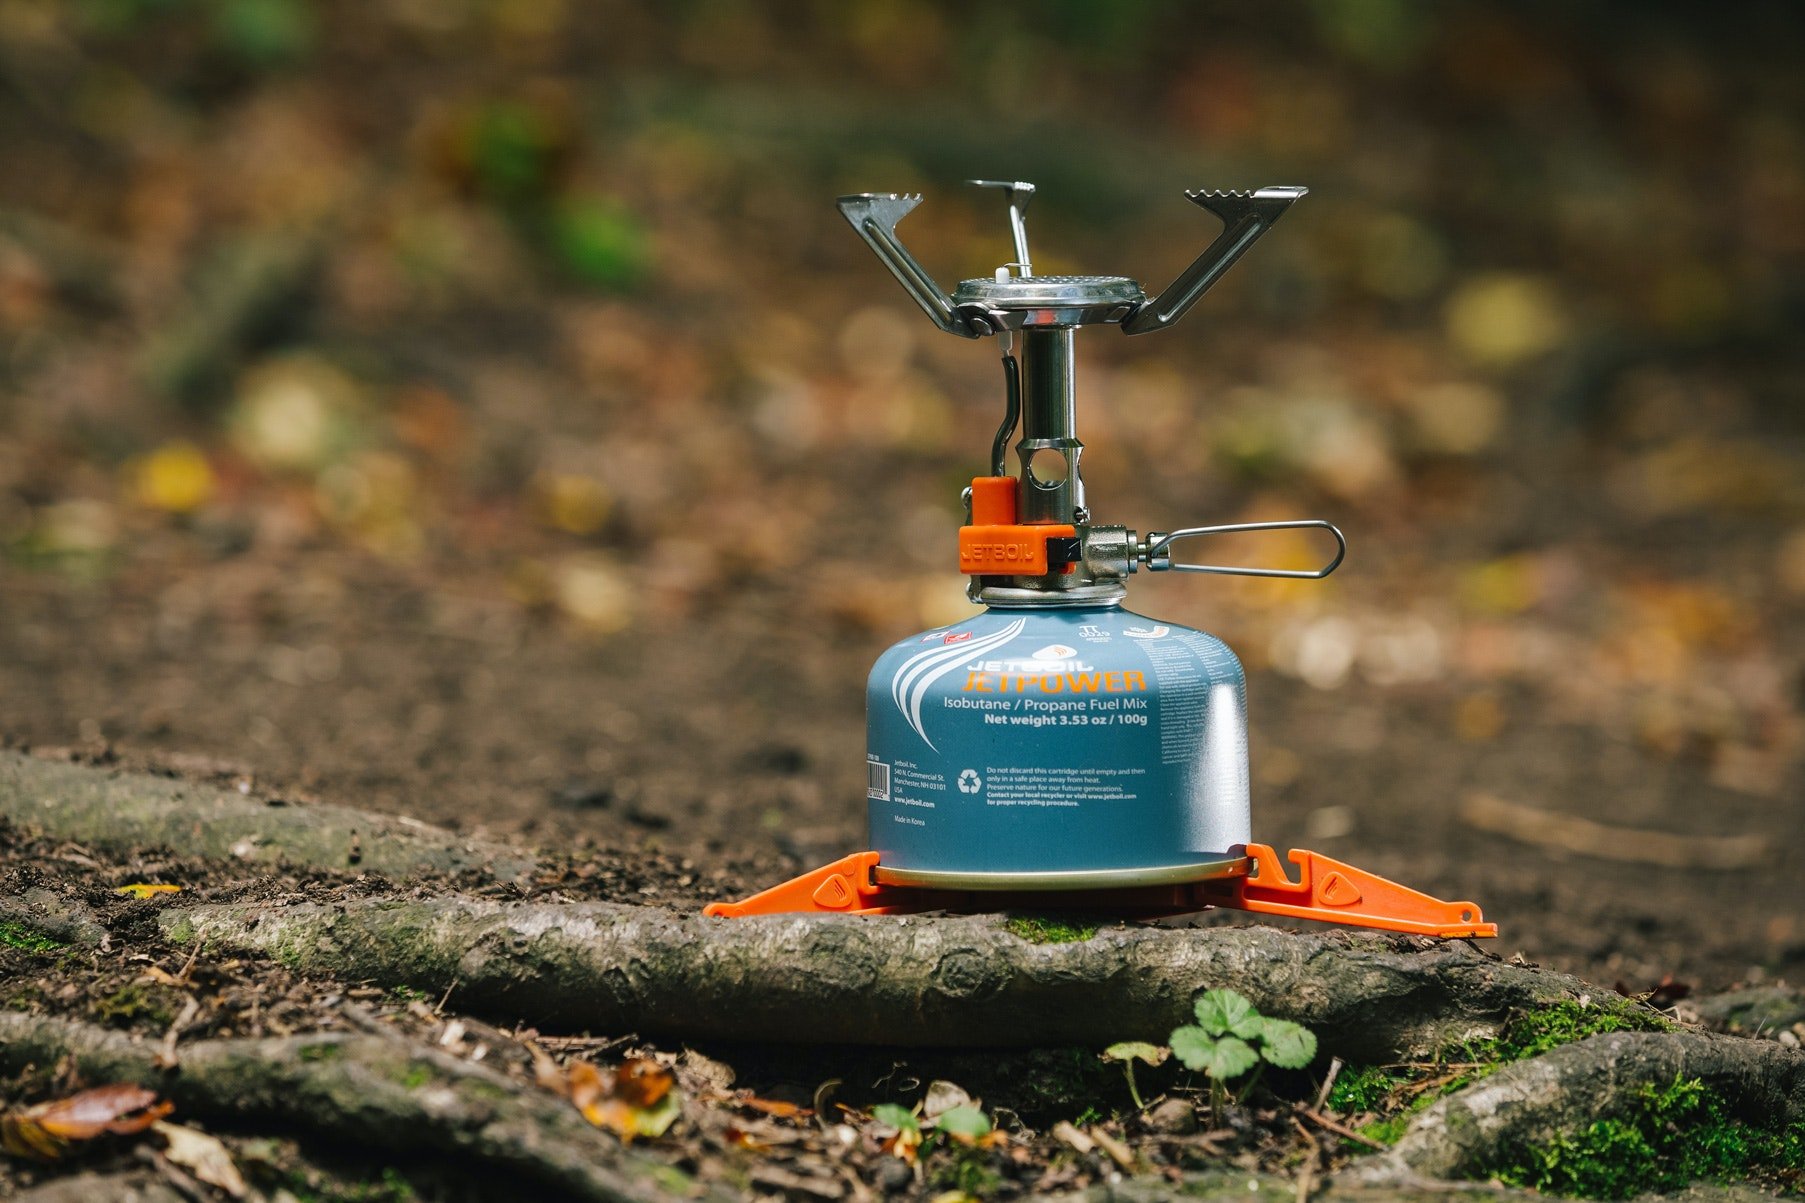
This tiny little stove fits in the palm of your hand, in your pocket or inside of a small pot to boil water. It has a spark igniter on the inside so you don’t need to supply an external frame. My worry was it would be too top heavy and tip over at a moment’s notice. On the contrary, it is more stable than my full sized Jetboil that only utilizes a 3 legged stand rather than the 4 legged stand that came with mine. Sadly the stove does not come with fuel, rather just the perks of having the absolute best lightweight stove on the market for only $60
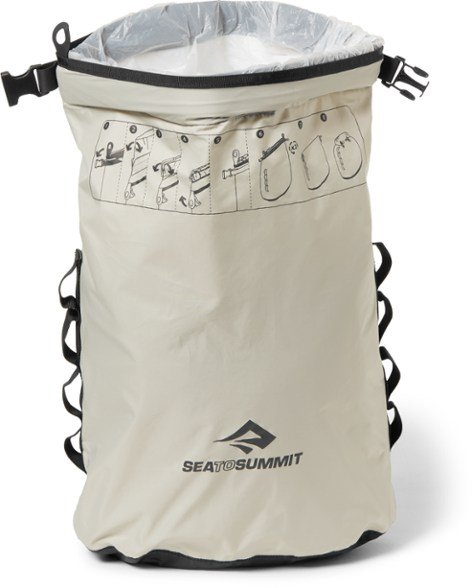
The trails that I am hiking most frequently have bear activity and no trash cans. I am a big believer in bear bags for trash and food rather than the larger, more cumbersome, bear canisters. When located and hung properly, they are just as effective for places and parks that do not require them. This is a simple dry bag that packs down small and uses a bag you get from the grocery store as a liner (I love reusing those plastic bags). I pack a few inside for trash from dehydrated meals, bars that I eat for lunch and the bags I packed my breakfast in. Saving this one for last because even more important than the photos that I get is not leaving trash in the backcountry. This bag stayed well under budget for $40 from REI.


